Renogy 400 Watts Solar RV Kit Review – Real Owner Insights on Power, Install, and What’s Missing
Affiliate disclosure
This post contains affiliate links. If you purchase through them, we may earn a commission at no extra cost to you.
RV solar is supposed to make life easier. No more babysitting your battery. No more “we can’t run the lights tonight.” No more panic when you’re parked off-grid and the fridge is still doing fridge things.
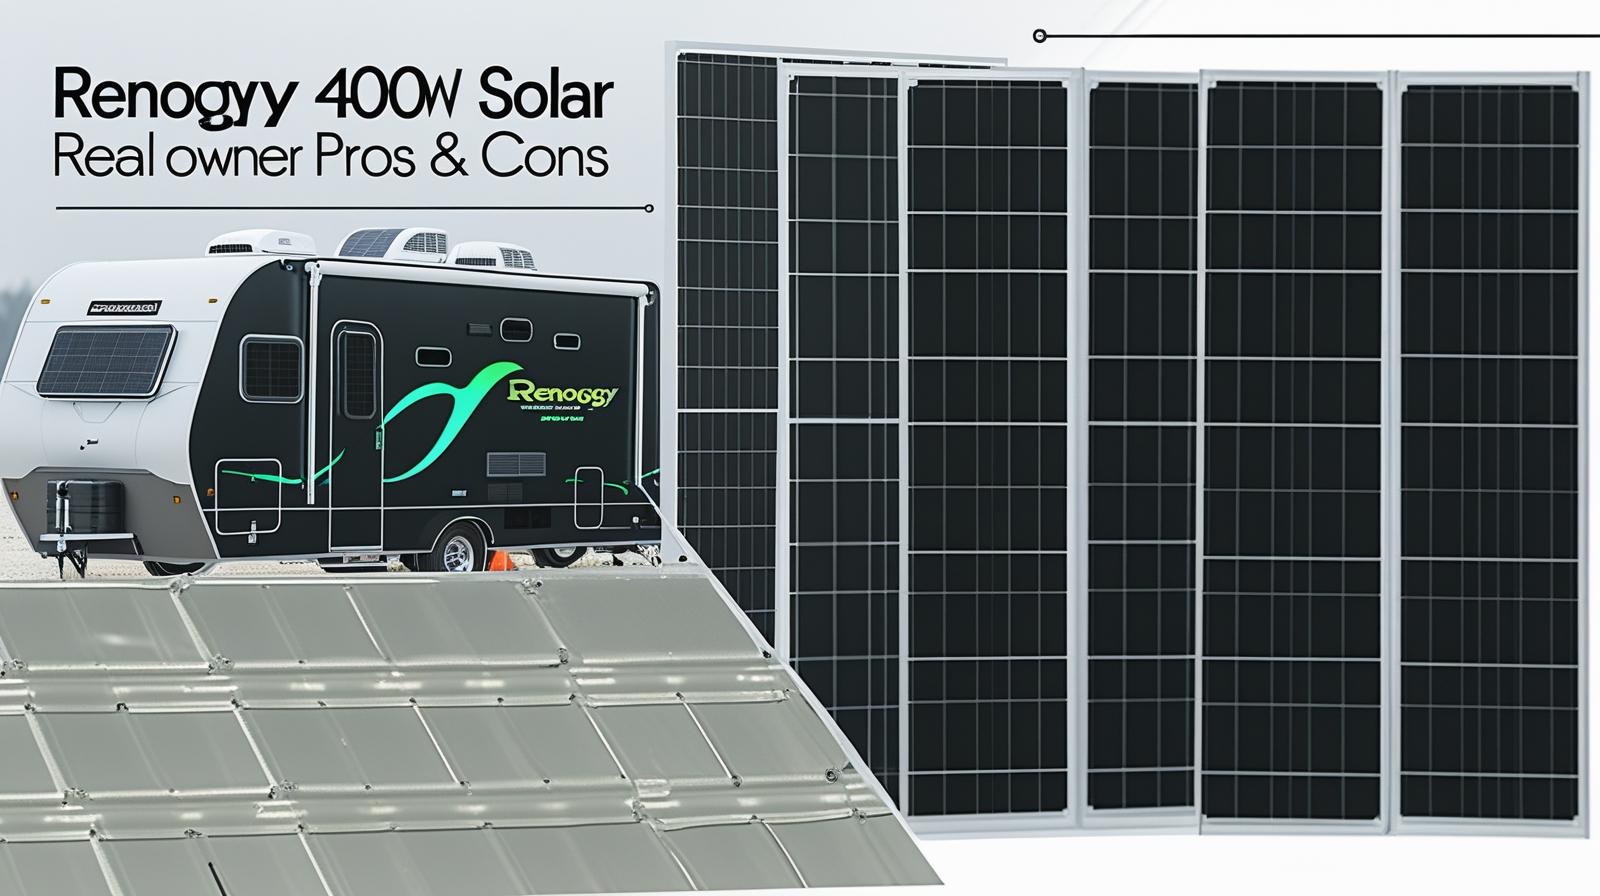
The Renogy 400 Watts Solar RV Kit is one of the most common “first real solar setups” RVers buy because it’s positioned as a full starter package: 4×100W panels + a controller + cables + mounts + monitoring (varies by bundle). On paper, it’s exactly what most people want.
But does it actually deliver once it’s bolted to a roof and bounced down the highway?
Quick Verdict
If you want a legit entry-to-mid level 400W RV solar foundation that many owners report using for years, this kit can be a strong value—especially the Rover Li 40A MPPT version with monitoring hardware included in the package list.
The biggest “gotchas” owners mention are setup expectations (winter output), wiring/length planning, and the reality that you may still need a few extra parts depending on your RV layout.
Check the Renogy 400 Watts Solar RV Kit price on Amazon
Quick Summary
- What it is: 4×100W panels + a solar charge controller bundle designed for RV/off-grid charging. Renogy US
- Best at: Keeping a battery bank topped up for boondocking basics (lights, charging, water pump, fans, 12V fridge, routers/Starlink-type loads).
- Not great at: Running high-draw heat loads in winter, and typically not sized to run rooftop A/C continuously (unless you build the rest of the system around that goal).
- Most common owner praise: “Easy enough to install,” “works great all summer,” “still going years later.”
- Most common owner complaints: Some bundles feel “not truly complete” for every RV, cable length can force series wiring, and a few people report controller/support frustrations.
If you’re still deciding how much solar you need overall, start here:
How to Size Your RV Solar System (Panels + Batteries)
What This Product Is (and What It’s Supposed to Do)
The Renogy 400W RV kit is designed to take sunlight, turn it into DC power, and charge your RV battery bank safely through a charge controller.
In the Renogy “Premium RV Solar Kit 400W 12V” package list, you’re typically looking at:
- 4× 100W solar panels
- A charge controller (commonly the Rover Li 40A MPPT in the “premium” configuration)
- Monitoring module (listed as BT-2 Bluetooth Module in the package includes)
- Mounting hardware (Z brackets)
- Wiring/adapters + branch connectors
- Fuse components (Renogy describes a fuse solution and lists fuse items in the package) Renogy US
Why that matters in real RV life
A lot of “solar-ready” RVs still don’t have enough roof solar to be meaningfully independent. A 400W rooftop array is often the point where weekenders stop worrying about battery, and many off-grid travelers start feeling comfortable—assuming your battery bank and inverter match your lifestyle.
Key Specs (At-a-Glance)
Here are the listed panel/controller specs from Renogy’s kit page (useful for planning wiring and expansion). Renogy US+1
| Item | What to know | Why you care |
|---|---|---|
| Panel wattage | 100W each (x4) | Total “rated” array = 400W |
| Panel dimensions | ~34.1 × 22.8 × 1.2 in (865 × 578 × 30 mm) | Roof fit planning matters a lot |
| Panel operating temp | -40°F to 185°F (-40°C to 85°C) | Outdoor exposure range |
| Controller | Rover Li 40A MPPT (in premium config) | MPPT typically harvests better than PWM in many conditions |
| Max PV input voltage | Up to 100VDC (controller spec) | Drives safe series/parallel planning |
| Max PV input power | 12V/520W, 24V/1040W (controller spec) | Headroom for expansion (within limits) |
What Real Owners Say (Reviews Snapshot)
Based on the review snippets you provided, the overall pattern looks like this:
Most loved
- Long-term reliability: multiple owners describe multi-year use with no major problems.
- Beginner-friendly install: lots of “easier than expected” sentiment.
- Strong summer performance: many people report “kept us powered all summer” experiences.
Common gripes
- Seasonality reality check: a few owners basically say “works great spring/summer/fall—winter is a different story.”
- Cables and layout constraints: some installs require buying extra extension cables or force series wiring due to lead length.
- Controller/support frustration (minority, but loud): a cluster of 1★ reviews focus more on controller issues and support experiences than panel output.
See the Renogy 400 Watts Solar RV Kit on Amazon
Pros (What Owners Consistently Like)
1) “It just works” for typical RV loads
A very common theme is that once installed, the kit keeps batteries charged for the everyday stuff: lights, charging, small appliances through an inverter, pumps, and connectivity gear.
One owner paired solar with a trailer conversion and reported multi-day off-grid use running a mix of 12V loads plus occasional inverter use—exactly the kind of “real RV use” people buy 400W for.
2) Long-lasting performance (multi-year mentions)
Several owners describe years of use without issues—one specifically framed it as a simple off-grid solution that stayed reliable long-term. That’s the most important compliment solar gear can get.
3) Beginner-friendly gateway kit
Multiple reviews basically say: “I didn’t know solar, watched a bit, installed it, and now I’m hooked.”
That’s valuable because RV solar is rarely plug-and-play in the way people hope. A kit that feels approachable matters.
4) MPPT version is often seen as the “worth it” bundle
In your snippets, there’s a repeating pattern: people who land the MPPT-based version feel like they got a lot for the money—especially when the price is close to the cost of the controller alone.
Cons (What Owners Complain About)
1) “Complete kit” expectations vs real installs
A recurring complaint is that depending on your RV layout, you may still need extra pieces (and you don’t want to discover that mid-install).
Owners most often mention needing things like:
- Roof cable entry gland / junction box
- Sealant (Dicor-style RV roof sealant is commonly used in practice)
- Disconnect switch / breaker strategy
- Additional extension cables if your panel layout doesn’t match the included lead lengths
- Correct fusing for your chosen wiring method
Renogy’s kit page does list fuse components and shows different fuse approaches in diagrams, but real installs still vary by roof layout and system design. Renogy US
2) Cable length can dictate series wiring
At least one reviewer explicitly complained that cable lengths forced a series-only arrangement unless they purchased extensions. That’s not a deal-breaker, but it’s something you want to plan for before you drill holes.
3) Winter performance can disappoint if you expect “400W all the time”
This is the most common beginner misconception: 400W is a rated number, not a constant output number. In winter, cloudy conditions, low sun angle, shading, and flat mounting can reduce harvest dramatically.
Owners who were happy generally sized expectations around battery charging and moderate loads, not space heating or other heavy winter use.
4) A small set of reviews raise controller/support concerns
A small cluster of review is heavily concentrated on charge controller failures, error codes, and unpleasant support loops. That doesn’t mean it will happen to you—but it does mean you should install carefully, protect wiring properly, and keep documentation/photos from day one.
Who This Kit Is Best For (and Who Should Skip)
Best for you if…
- You want a solid 400W foundation for boondocking.
- Your daily power needs are mostly 12V loads plus modest inverter use (coffee grinder, laptop, small microwave bursts, etc.).
- You’re willing to do a little planning: roof layout, wire routing, and “what extra parts do I need for my RV?”
Skip it (or rethink the system) if…
- You expect 400W to reliably run high-draw heat loads in winter.
- You want true “solar runs my A/C all day” performance without building a larger battery + inverter + additional panel capacity system.
- You don’t want any DIY complexity. In that case, a professional install or a simpler, smaller maintenance-charging setup may match your tolerance better.
For a beginner-friendly walkthrough before you commit to drilling and wiring:
DIY RV Solar Installation Guide (Step-by-Step)
MPPT vs PWM (The Version Choice That Matters)
You’ll see different kit styles referenced in reviews (PWM controllers in some bundles, MPPT in others). Here’s the practical takeaway:
| Controller type | What it means for you | Who it suits |
|---|---|---|
| MPPT | Typically better harvesting in variable conditions, more flexible wiring options | Most RVers who boondock often |
| PWM | Simpler/cheaper, can be fine for basic setups | Light use, lower expectations, tight budgets |
In your snippets, many of the happiest “this is a great value” reviews are tied to MPPT-controller bundles.
Real-World Use Cases (Mini Owner Stories)
Here are a few real-world patterns from your snippets, paraphrased:
- The “installed it years ago, still going” owner: A campervan install from around 2020 that’s still charging strong years later—paired with lithium batteries. When winter/cloudy days hit, they complemented solar with alternator charging. The takeaway: solar can be the backbone, but a second charging source makes year-round life much easier.
- The “all-summer powered” camper: Multiple owners describe summer trips where the camper stayed fully powered through the season. That’s the classic 400W win: long sunny days plus sensible loads.
- The “winter reality check” user: One owner loved spring/summer performance, but tried running a heater load in winter and watched batteries drain fast. That’s not a kit failure—it’s a load mismatch. Heat is a power monster.
Installation & Usage Tips (What Owners Learned the Hard Way)
1) Plan your roof layout before you touch a drill
Because these panels are around 34 × 22.8 in each (per Renogy’s listing), you want to mock placement and cable routing first.
Common layout mistakes:
- Putting panels in a row, then realizing the leads don’t comfortably reach for parallel
- Forgetting roof vents/AC shrouds cast shadows at certain times of day
2) Decide your wiring strategy early (series, parallel, or series-parallel)
Renogy’s kit FAQ explains the functional difference: series increases voltage, parallel increases current, and you can combine both.
Practical RV angle:
- Series can be simpler when cable reach is limited
- Parallel can be more shade-tolerant in some scenarios
- Series-parallel is a common compromise when you want balance
3) Expect to add a few “RV-specific” items
Even when a kit includes core electrical components, RV installs commonly require extra weatherproofing and routing parts.
A smart pre-install checklist usually includes:
- Roof cable entry gland/junction approach
- Proper sealant for your roof material
- Fuse/disconnect plan you can service later
- Wire protection (loom, grommets, strain relief)
- Extra extension cables if your controller location is far from roof entry
4) Don’t ignore monitoring—use it to catch issues early
Monitoring helps you detect shading problems, a loose connection, or a controller behaving oddly before it becomes a ruined trip problem.
Maintenance Expectations (So It Stays “Set-and-Forget”)
Most “solar stopped working” problems in RVs end up being:
- A loose connection
- A damaged cable or connector
- A fuse/disconnect issue
- A controller configuration mismatch (especially after battery changes)
A simple maintenance routine goes a long way:
RV Solar Maintenance & Troubleshooting Guide
FAQ
Does this kit include everything I need to run 120V (US/Canada) or 230V (Australia) appliances?
Not by itself. Solar charges batteries (DC). If you want household outlets, you typically need an inverter sized for your loads. In the US/Canada, that means 120V AC; in Australia, 230V AC—so inverter selection must match your region and devices.
Will a 400W kit run my RV air conditioner?
For most RVers, not as a simple “plug it in and forget it” outcome. A/C is a big load and usually requires a larger system design (more panels, larger battery bank, properly sized inverter, and realistic sun-hour assumptions). Renogy’s own FAQ frames it as a load-calculation exercise rather than a yes/no promise.
Is this a good starter kit for lithium batteries?
Many owners in your snippets paired it with lithium successfully. The key is making sure your controller settings match your battery chemistry and that your wiring/fusing is done correctly.
Should I wire panels in series or parallel?
It depends on roof layout, shading patterns, and controller limits. Renogy summarizes the electrical difference clearly (series adds voltage, parallel adds current).
If you’re unsure, use the sizing guide above and decide based on your roof constraints and how often you camp in partial shade.
What’s the most common surprise during install?
Needing extra cables or small install parts based on where your controller and batteries live inside the RV.
Final Verdict
The Renogy 400 Watts Solar RV Kit earns its reputation mostly for one reason: a lot of real people install it and keep using it for years—especially when they approach it as a battery-charging system for sensible RV loads, not a miracle generator.
Your review set also makes one thing very clear: the kit experience depends heavily on planning. If you map your roof layout, decide series/parallel intentionally, and assume you might need a couple install extras, you’ll avoid the most common frustrations.
Ready to check current pricing and see the latest buyer photos?
See the Renogy 400 Watts Solar RV Kit on Amazon