RV Lighting Essentials: Exterior, Interior & Awning Lights
Affiliate disclosure: Some links below may be affiliate links. If you purchase through them, we may earn a small commission at no extra cost to you. We only recommend products we’d use ourselves.
Quick Summary 💡
- Think in layers: ambient (ceiling/strip), task (reading/galley), accent (toe-kick/under-cabinet), and exterior (porch/step/awning).
- 12V DC is the RV-friendly default; mains fixtures (120V AC US/Canada, 230–240V AC Australia) must be properly rated & protected.
- Choose warm white 2700–3000K for cozy interiors; reserve 4000K+ for task zones.
- For awnings: pick IP65+ LED strips under the awning rail for a clean install, or use magnetic/string lights for quick setups.
- Safety first: fuse to wire size, protect connections (heat-shrink, grommets, drip loops), and keep exterior lamps road-legal. Follow NFPA/RV safety practices. 🔧⚠️
Why RV Lighting Matters (More Than You Think) ✨
The right lighting boosts safety, comfort, and efficiency. It makes nights safer, cooking easier, and camp hosts happier. It protects night vision after stargazing, lifts mood on gloomy days, and stretches batteries when you’re off-grid. In short: safety → comfort → energy efficiency—in that order. 🌙🔋
Regional Note 🌎
- USA/Canada: 12V DC house system + 120V AC when on shore power/generator.
- Australia: 12V DC house system + 230–240V AC on mains/charger.
- Wet areas: Use GFCI/RCD protection on AC outlets. For most retrofits, stick to 12V DC lighting to keep it simple and safe.
Safety & Compliance Checklist ✅
- Fuse correctly: Match fuse to wire gauge and total load; use dedicated circuits for high-draw light runs.
- Protect wiring: Loom, grommets, and heat-shrink butt connectors; add drip loops for exterior leads.
- Mount smart: Use IP-rated fixtures outside; avoid piercing awning fabric/gelcoat without proper sealing.
- Dim & control: Use 12V-rated dimmers/PWM controllers; label switches by zone (ambient/task/accent/exterior).
- Stay legal: Do not alter required road-lighting/marker lamps; keep add-on lights glare-free and campsite-friendly.
RV Lighting Types at a Glance 💡
Choose the right light for the right job to boost safety, comfort, and battery life—whether you’re cooking, reading, or chilling under the awning. 😊
| Light Type | Typical Use | Voltage | Typical Power (W) | Mounting | Weather/IP | Pros | Cons |
|---|---|---|---|---|---|---|---|
| LED strip (5050/2835) | Under cabinets, toe-kick, awning rail | 12V DC | 4.8–14.4 W/m* | Adhesive track | IP20 (indoor), IP65–67 (awning) | Flexible, dimmable, even glow | Needs clean prep; cheap strips fade |
| LED puck/dome | Cabin ambient | 12V DC | 2–6 | Surface/recessed | Indoor | Easy retrofit, efficient | Beam can be spotty if low-quality |
| Reading/task lamp | Dinette/bed | 12V DC | 3–6 | Screw mount | Indoor | Focused light, built-in switches | Narrow beam; choose warm CCT |
| Porch/entry light | Door area | 12V DC | 5–12 | Replace OEM | IP65 | Illuminates steps; motion options | Glare without frosted lens |
| Flood/spot | Campsite, work | 12V DC | 10–30 | Bracket | IP65–67 | Bright task lighting | Can annoy neighbors; aim carefully |
| Awning string lights | Ambience under awning | USB/12V/AC | 2–10 | Hooks/magnet | Outdoor | Festive, fast to deploy | Uneven light; verify weather rating |
| Solar lanterns | Table/path | Solar | — | Hang/place | Outdoor | Zero wiring, great backup | Sun-dependent; generally dimmer |
*Strip wattage shown per meter.
Color Temperature (CCT) Tips 🎨
- Warm white 2700–3000K feels cozy in living and sleeping zones.
- 3000–3500K works well in galleys for truer food colors and clearer tasks.
Benefits by Scenario ✅
- Night safety: Bright but warm porch/step lights reduce trips and make locks easy to find. If replacing exterior markers, keep everything compliant with road-lighting rules.
- Ambiance: Dimmable strips behind valances or under cabinets create “hotel-cozy” vibes with minimal draw.
- Battery life: LEDs deliver far more lumens per watt than old incandescents—perfect for boondocking.
- Task performance: Focused reading lamps reduce eye strain without waking the whole cabin.
- Neighbor-friendly camping: Indirect, dimmable light keeps your site welcoming without lighting up half the loop.
Safety & Compliance (Short and Sweet) 🧯✅
- Inside the RV: Follow NEC (NFPA 70) Article 551 for RV wiring. Use the correct conductor sizes, proper over-current protection, and fixture ratings that match the circuit.
- Exterior road lights (U.S.): Headlights, tail/marker/clearance, and reflectors must meet FMVSS 108. Use certified replacements—don’t alter photometrics with non-compliant bulbs or housings.
- Canada: RV construction/systems align to CSA Z240 RV Series. Choose fixtures and components that are tested/listed to Canadian requirements.
- Australia/NZ: Exterior lighting placement/performance must fit ADR 13/00. Mind mounting heights, angles, and color for any aftermarket work/position lamps.
Wiring musts: Fuse to wire size, protect connections (heat-shrink, grommets, drip loops), and keep exterior lamps road-legal. 🔧
Interior Lighting: Make It Livable 🏠
Ambient (ceiling/puck/dome)
- Use puck LEDs with diffusers for soft, even general light.
- Pick CRI ≥ 80 for natural colors (higher feels nicer).
- Add a PWM dimmer to fine-tune brightness at night.
Task (galley/desk/reading)
- Gooseneck lamps with built-in switches keep power simple.
- Under-cabinet strips in an aluminum channel + diffuser = shadow-free counters.
Accent (toe-kick/under-bed)
- Run strips at 10–20% brightness to preserve night vision.
- Consider motion-sensing modules for midnight bathroom trips.
Exterior Lighting: Safe, Polite, Effective 🌙
Porch/Entry & Step
- Choose frosted lenses or down-angle hoods to cut glare.
- Motion + dusk sensors = hands-free, power-smart entry.
Campsite Flood/Spot
- Mount on awning rail or ladder, aimed down and away from neighbors.
- Use narrow beams for tasks; dim after quiet hours.
Marker/Tail/Brake (Road-legal)
- Replace like-for-like certified assemblies only; don’t change color, optics, or output patterns.
Awning Lights: Three Good Paths ☀️➡️🌙
- LED Strip under the awning rail (cleanest)
Look for: IP65/67, UV-stable silicone, 3M VHB tape, 2700–3000K, PWM dimmer.
Pros: Invisible by day, even glow, fully dimmable.
Cons: Surface prep matters; use corner connectors for bends. - Rope/String lights (festive & fast)
Hang with clips or magnets on the awning tube—great for temporary setups or rentals. - Portable solar lanterns (no wiring)
Hang 3–6 lanterns along the edge for soft ambience—perfect when batteries are low or hookups are limited.
How to Size Your RV Lighting (Simple Math) 🧮💡
1) List Your Loads
- Awning strip: 5 m × 14.4 W/m = 72 W
- Two pucks: 2 × 4 W = 8 W
- Reading lamp: 5 W
Total = 72 + 8 + 5 = 85 W
2) Convert to Amps (at 12V)
Amps = Watts ÷ Volts → 85 ÷ 12 ≈ 7.1 A
3) Estimate Runtime on Battery 🔋
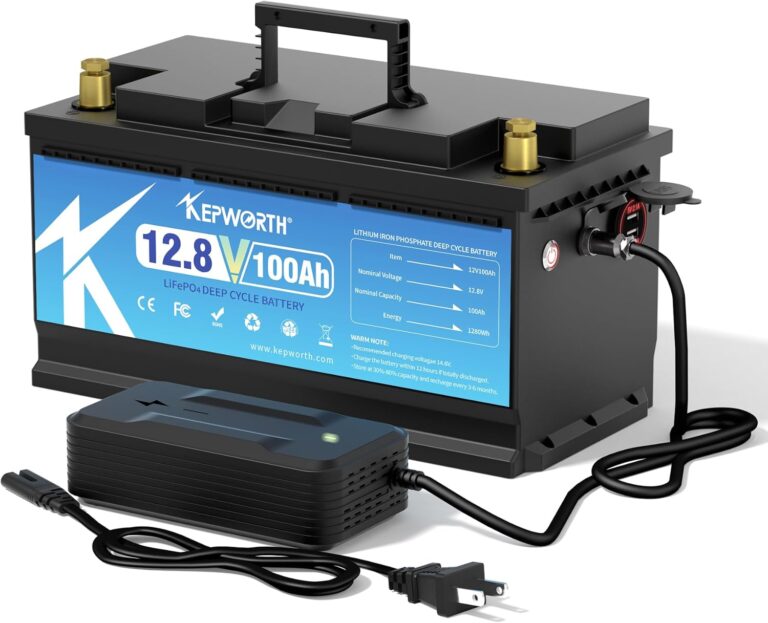
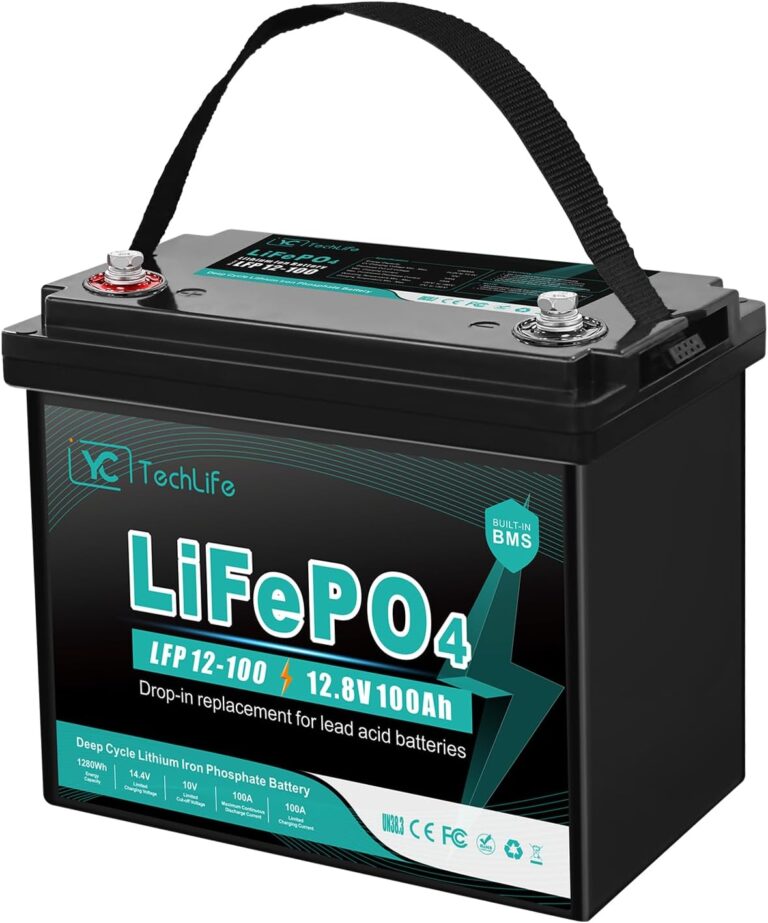
100 Ah (12V) ≈ 1,200 Wh nominal capacity.
- Simple example: 1,200 Wh ÷ 85 W ≈ 14 hours (continuous).
Reality check: Usable energy varies by battery chemistry:
- Lead-acid (~50% DoD): ~600 Wh usable → ~7 hours at 85 W.
- LiFePO₄ (80–90% DoD): ~960–1,080 Wh usable → ~11–13 hours at 85 W.
Tip: Add 10–15% headroom for inverter/controller losses and voltage drop.
4) Fuse & Wire Sizing (Protect the Wire, Not the Fixture) 🔧
- Branch current ≈ 7 A → a 10 A fuse on short 16 AWG runs is common.
- Longer runs / higher current: step up to 14–12 AWG to reduce voltage drop (<3% target for lighting).
- Use quality blade fuses or breakers, and label each circuit.
5) Dimming = Free Runtime ✨
Running the awning strip at 30–50% with a PWM dimmer can halve power draw with minimal visible brightness loss—great for boondocking.
Quick Worksheet (Copy & Fill)
- Strip length × W/m = ______ W
- Pucks (qty × W) = ______ W
- Other lights = ______ W
- Total Watts = ______ W
- Amps @12V = Total W ÷ 12 = ______ A
- Runtime (hrs) ≈ Usable Wh ÷ Total W
Going deeper? See our RV Solar Power guide and RV Surge Protectors 101 for safe hookups and bigger-picture planning. 🔌🔆
Step-by-Step: Install a 12V Awning LED Strip (Beginner-Friendly) ✨
Goal: Add a warm, dimmable awning light that’s weather-resistant, safe, and easy to control from the entry door. 😊
What You’ll Need 🧰
- IP65/67 LED strip (2700–3000K, 12V, PWM-dimmable)
- Aluminum channel + diffuser (recommended on textured surfaces)
- PWM dimmer + on/off switch (or a combo unit)
- Automotive wire (size per run length/current), inline blade fuse holder
- Crimp connectors + adhesive heat-shrink
- Isopropyl alcohol, lint-free wipes, 3M VHB (if not pre-taped)
- UV-safe silicone, end caps, cable clips, grommets
- Basic tools: wire stripper/crimper, drill (if mounting channel), multimeter
Step-by-Step 🔧
- Measure & plan: Dry-fit the strip under the awning rail so it’s protected when rolled up. Plan wire entry and a drip loop outside.
- Choose the right strip: Use IP65/67, warm white 2700–3000K, and PWM-dimmable LEDs for cozy, efficient light.
- Prep the surface: Clean with isopropyl alcohol. On textured fiberglass, install an aluminum channel + diffuser using screws/clips.
- Route power safely: Run leads to a fused 12V distribution point. Place the inline fuse close to the source to protect the run.
- Dimmer & switch location: Mount an in-line dimmer near the entry for quick access; label the switch.
- Make solid connections: Observe polarity. Crimp and heat-shrink all joints; use grommets through metal or gelcoat.
- Test before stick-down: Power up, check even brightness, verify dimming range and no flicker.
- Adhere the strip: Peel VHB, press firmly along the channel/rail for 30–60 seconds per section. Avoid stretching the strip.
- Weatherproof the ends: Seal end caps and any exposed joints with UV-safe silicone. Maintain the drip loop.
- Label the circuit: Mark the panel with “Awning LED – fuse size” for future service.
Quick Safety Notes 🧯
- Fuse to wire size, not the fixture: e.g., ~7 A branch → 10 A fuse on short 16 AWG; longer runs may need 14–12 AWG to limit voltage drop.
- Keep 12V wiring separate from AC circuits; use proper strain relief and abrasion protection.
- Not comfortable with 12V/AC? Hire a licensed RV tech/electrician—safety first.
Pro Tips ⭐
- Corner connectors keep bends clean and prevent LED damage.
- Warm white (2700–3000K) is friendlier to eyes (and neighbors) at night.
- PWM dimming at 30–50% often halves power draw with minimal perceived brightness loss.
Final Checklist ✅
- Even light, no dead segments, smooth dimming
- Fuse installed near source; circuit labeled
- All penetrations sealed; drip loop present
- Wires supported with clips; no sharp edges/rubs
Result: a clean, durable awning glow that sips power, looks great, and is easy to control on every trip. ✨🚌
What to Look For When Buying 💡🛒
Pick lighting that’s safe, efficient, and cozy—and built to survive RV life. Here’s a friendly, no-nonsense checklist:
- CCT (Color Temperature): Choose 2700–3000K warm white for living/sleeping areas; it’s comfy on the eyes and great for evenings. 😊
- CRI (Color Quality): Aim for CRI ≥ 80 for natural colors; CRI 90+ looks superb in compact interiors and for food prep.
- IP Rating (Ingress Protection): IP65+ for awnings/exterior and damp areas; IP20 is fine indoors.
- UV Resistance: Prefer silicone-encapsulated strips and UV-stable housings to resist yellowing and cracking in the sun. ☀️
- Dimming: Confirm PWM dimmability for smooth, efficient brightness control (perfect for boondocking).
- Switching & Controls: Look for memory function (remembers last level), low-glare diffusers, and intuitive on/off near entry points.
- Build & Warranty: Solid housings, quality adhesives (e.g., VHB), clear warranty, and accessible spare parts.
- Listings & Compliance: For exterior/road lights, choose certified, like-for-like replacements that meet your region’s requirements (e.g., road-lighting standards in the U.S./Canada/Australia). For interior wiring, follow recognized RV electrical practices.
Quick Picks by Zone ✅
| Zone | Best Type | Spec Snapshot |
|---|---|---|
| Ambient (cabin) | Puck/Dome LEDs | 2700–3000K, CRI ≥ 80, PWM dimmable, diffuser lens |
| Task (galley/reading) | Under-cabinet strips / Gooseneck | 3000–3500K, CRI 90+, aluminum channel + diffuser |
| Awning/Exterior | LED strip / Porch light | IP65+, UV-stable, PWM dimmable, warm white for neighbor-friendly glow |
Pro Tips 🌟
- Fuse to wire size and keep voltage drop under ~3% on longer runs.
- Silicone end caps + heat-shrink at joints = longer life outdoors.
- Dim at 30–50% for big power savings with minimal perceived brightness loss.
Bottom line: Warm CCT, high CRI, correct IP rating, UV-resistant build, smooth PWM dimming, and region-appropriate compliance = happy eyes, happy neighbors, happy batteries. ✨
Sample Gear ✨
Quick picks you can install today—optimized for cozy, efficient RV lighting. (Links open in a new tab and include rel="sponsored noopener".)
- 12V Warm-White LED Strip Kit (IP65, 5 m, dimmer included) — great under the awning or cabinets. See price on Amazon
- Low-glare LED Porch Light (motion + dusk sensor) — safer step/doorway lighting. See price on Amazon
- Slim LED Puck Lights (CRI 90, low profile) — easy ceiling upgrades. See price on Amazon
- Flexible Gooseneck Reading Lamp (touch dimmer) — perfect for bunks/dinette. See price on Amazon
- Rechargeable Solar Lanterns (collapsible) — backup ambience with zero wiring. See price on Amazon
Pros & Cons by Category 🔎
| Category | Pros | Cons |
|---|---|---|
| LED Strips | Uniform, efficient, dimmable, nearly invisible install | Needs careful surface prep; cheap strips fade or shift blue |
| Puck/Dome Lights | Clean OEM look, bright ambient, easy wiring | Beam can be harsh without diffusers |
| Reading/Task Lamps | Focused light, built-in switches, small power draw | Narrow beam; pick warm CCT to reduce glare |
| Porch/Entry Lights | Safer steps, handy motion/dusk sensors | May glare neighbors if not shielded or aimed down |
| Flood/Spot Work Lights | Unbeatable for tasks and setup | Easy to overdo—aim/dim responsibly |
| Solar Lanterns | No wiring, great backup, ultra portable | Sun/weather dependent; lower overall output |
Tip: For the friendliest campsites, use warm CCT (2700–3000K) and PWM dimming—cozy vibes, happy neighbors, longer battery life. 😊
Maintenance & Troubleshooting 🔧💡
Keep your RV lights reliable and cozy with these quick fixes and best-practice tips. Most issues come down to power, protection, or parts—solve those, and you’re golden. 😄
Quick Fixes (Most Common Issues)
- Flicker on dim: Use a PWM dimmer with a quality LED driver; verify solid ground/negative connections and tighten all crimps.
- Uneven awning light: Feed power from both ends (or center-feed) and/or choose higher-density LED strips to minimize voltage drop along the run.
- Yellowing outdoors: Upgrade to UV-stable silicone/urethane encapsulation and UV-resistant channels/diffusers.
- Voltage drop (dim far end): Step up to thicker wire (14–12 AWG for longer runs) or home-run back to the distribution panel instead of daisy-chaining.
- Water ingress: Re-seal end caps & joints with UV-safe silicone; avoid pressure-washing near adhesive channels and maintain drip loops.
Pro diagnostics: Measure voltage at the strip (full & dimmed), tug-test every crimp, and confirm the fuse rating matches wire gauge. Aim for <3% voltage drop on lighting circuits.
Frequently Asked Questions 🙋♀️🙋♂️
How bright should my interior be?
As a rough guide, target 100–200 lumens/m². In practice, 4–8 puck lights plus some accent strips feels right in a mid-size travel trailer.
What color temperature is best?
Use 2700–3000K in living/sleeping areas for a warm, restful feel. Choose 3000–3500K in task zones (galley, desk) for truer colors and better visibility.
Can I wire awning lights to my house battery?
Yes—most kits are 12V DC. Add a properly sized fuse near the source, use a PWM dimmer, and weather-seal all exterior connections.
Are solar lanterns worth it?
They’re great as supplemental/backup lighting or when conserving battery. Don’t expect them to replace a full strip or bright flood for task lighting.
Can I replace OEM exterior road lights with LEDs?
Yes—use certified, like-for-like assemblies that maintain required color, intensity, and beam patterns for your region’s road-lighting rules.
Helpful Internal Reads 📚
- RV Surge Protectors 101: Safeguarding Your RV’s Electrical System
- Solar Power: Pair Efficient Lighting with Solar Storage
- RV Safety Gear
- Why RV Climate Control Matters: Year-Round Comfort & Safety Tips
Bottom line: Quality components, proper wiring, and good sealing solve 90% of lighting issues. Keep it warm, dimmable, and well-protected—and enjoy the glow. ✨