How to Replace an RV Water Pump (DIY Step-by-Step Guide)
Quiet, Leak-Free Water Flow in Just an Hour
Is your RV water pump noisy, leaking, or just not doing its job? Whether it’s weak pressure or non-stop cycling, it might be time to replace it.
The good news: replacing an RV water pump is an easy DIY task — even if you’re not a pro. In this guide, you’ll learn step-by-step how to remove your old pump and install a new one in under an hour.
🧠 Signs You Need to Replace Your RV Water Pump
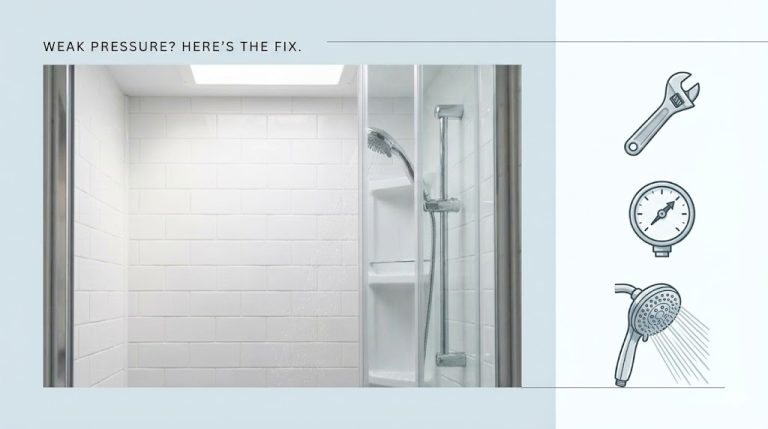
- 🛑 Water pressure is very low or pulsing
- 🔊 Pump runs constantly, even when no faucet is open
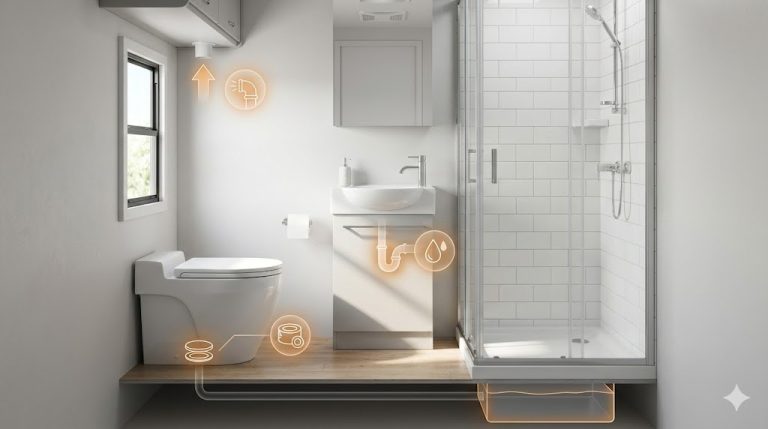
- 💧 Visible leaks from pump body or fittings
- 🚫 Pump doesn’t turn on at all
- 🔩 Age: 5+ years of regular use
👉 Tip: Sometimes a failed pressure switch or clogged filter can mimic pump failure. Rule those out first.
🧰 What You’ll Need (Tools & Materials)
| Item | Purpose |
|---|---|
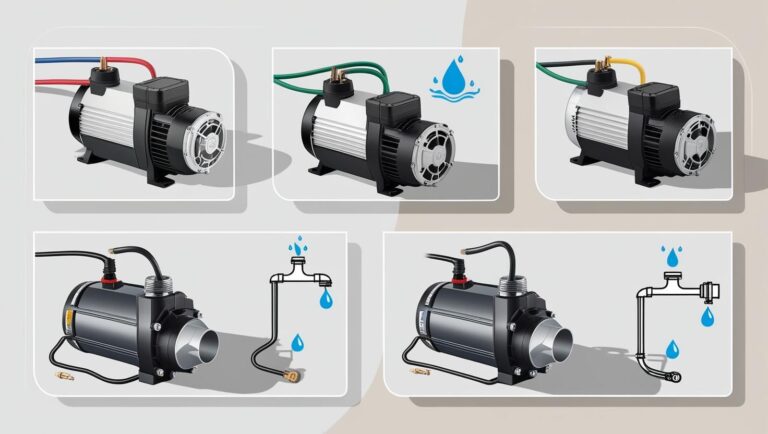
| ✅ New 12V RV water pump | Your replacement unit |
| ✅ Screwdriver | Remove mounting screws |
| ✅ Pliers or wrench | Loosen hose clamps |
| ✅ Teflon/plumber’s tape | Seal threaded connections |
| ✅ Wire connectors or crimp caps | For wiring |
| ✅ Rags & towel | Catch drips |
| ✅ Bucket or tray | To collect residual water |
| ✅ Optional: Accumulator tank | Smooth out water flow |
🏁 Step-by-Step: How to Replace Your RV Water Pump
1️⃣ Disconnect Power
Turn off your RV’s 12V battery or flip the water pump switch off.
2️⃣ Locate Your Old Pump
Usually found near the freshwater tank — in a cabinet, under a bed, or inside a hatch.
3️⃣ Shut Off Water Supply & Drain Lines
Drain the freshwater tank or clamp the hose. Open a faucet to release pressure.
4️⃣ Disconnect Water Lines
Use a screwdriver or pliers to loosen clamps. Carefully pull off inlet and outlet hoses.
5️⃣ Disconnect Wiring
Match and disconnect red (+) and black (–) wires. Take a photo if needed for reference.
6️⃣ Remove the Old Pump
Unscrew the mounting screws and remove the unit. Clean the area if needed.
7️⃣ Install the New Pump
Mount in the same location. Wrap fittings with Teflon tape. Reconnect hoses and clamps.
8️⃣ Reconnect the Wiring
Connect red to red, black to black. Use secure crimp connectors or wire nuts.
9️⃣ Power On & Test
- Turn battery/power back on
- Flip on pump switch
- Open a faucet and let pump prime
- Check for leaks
🔇 Optional Upgrades
- ✅ Pump silencing kit – Reduces vibration and noise
- ✅ Accumulator tank – Smooths out water pressure
- ✅ Inline strainer filter – Prevents debris damage
⚠️ Common Mistakes to Avoid
- ❌ Not shutting off power — shock risk
- ❌ Reversing wire polarity — can burn out pump
- ❌ Over-tightening hose clamps — can crack fittings
- ❌ Not checking for leaks after install
- ❌ Forgetting to purge air from lines
🔄 Related Posts
- 👉 Best RV Water Pumps for Reliable Pressure
- 👉 RV Water System 101: How Your RV Gets Water
- 👉 Using Freshwater Tank Off-Grid
- 👉 Sanitizing Your RV Freshwater Tank
- 👉 Troubleshooting Low Water Pressure in Your RV
✅ Final Thoughts
Swapping out your RV water pump might sound intimidating, but it’s actually one of the simplest plumbing upgrades you can do — no plumber needed.
Whether you’re replacing a failing unit or upgrading for quiet performance, following these steps ensures a leak-free, efficient install.
➡️ Next: How to Reduce Pump Noise and Vibration (Silencing Kit + Tips)